0

Your Cart is Empty

Pangea Small Arboreal PVC Enclosure - approx. 11"x17"x22"

Quantity

Highlights:

  • Easy to assemble
  • High-quality PVC panels with tempered glass door
  • Professional grade hinges and latch
  • Four fit side-by-side on a 48"x18" Wire shelving unit
  • Ideal for small arboreal geckos, frogs, snakes and more!
  • Outer Dimensions: 11.125" x 17.25" x 22"

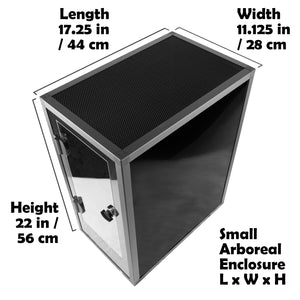
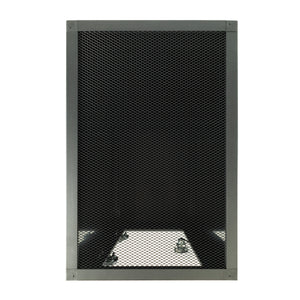
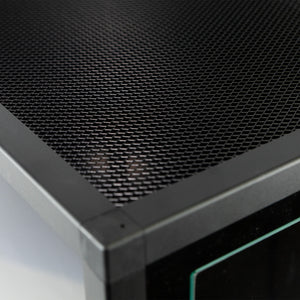
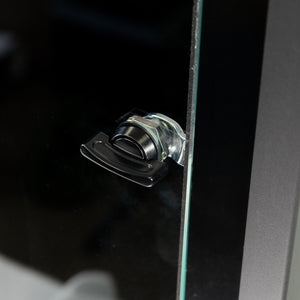
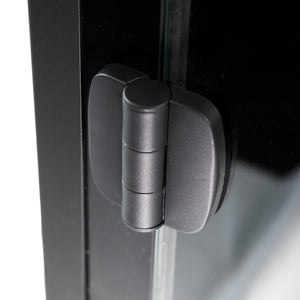
Our second iteration of our Small Arboreal PVC Enclosure improves on our first version with easier assembly, a larger interior area, more ventilation and an even sleeker look! Designed for hobbyists with large collections, four of these enclosures fit side-by-side on commonly used 48" x 18" wire racks. 

Looking for a bigger enclosure? Check out the large version of this enclosure!

Features:

  • Easy-to-assemble rail and panel system makes set up a breeze
    • PVC Panels are easy to drill through for customization - add holes for probes or additional ventilation as you'd like!
  • Full-sized steel mesh top and drilled front holes for ventilation
     
  • Sealed bottom to prevent moisture from leaking out
    • Note: For Bioactive setups, or other enclosures with layers of damp substrate, we still recommend sealing the edges of the enclosure with 100% silicone to prevent leaking from side panels.
  • Tempered Glass Door with high-quality hinges and latches
  • Four of these enclosures fit side-by-side on a 48"x18" shelving unit
  • Coming soon: Stacking pegs (sold separately) will allow these enclosures to be securely stacked. These pegs will fit into the sockets the corner caps fill.

Directions

Assembly Required.

  1. Attach the hinges to the glass door, inserting the nylon spacers to prevent rattling
  2. Attach the hinges to the front PVC panel, using the nylon spacers to prevent rattling
  3. Install the latch in the glass door
    1. Unscrew the hex nut from the latch
    2. Insert the latch knob through the hole in the glass
    3. Screw the hex nut back onto the latch
    4. Align the latch bar with the knob and secure it with the included screw
  4. Screw the four rails into the bottom panel
  5. Slide the four side panels into place
  6. Slot the top screen into place, then screw it in in the corners
  7. Optional: slide the corner caps into the holes in each corner for a clean look. Skip this step if you intend to use the stacking pegs (coming soon).

Click here to download the user manual with illustrated instructions.

Included Components 

  • 1x Top Screen
  • 1x Sealed Bottom
  • 4x Rails
  • 1x Front PVC Panel
  • 1x Glass Door
  • 2x Side Wall PVC Panels
  • 1x Back Wall PVC Panel
  • 2x Hinges
  • 1x Latch Assembly
  • 8x Nylon Spacers
  • 8x M6x16 Screws
  • 8x Cap Nuts
  • 8x Corner Caps
  • 1x Allen Wrench / Screw Driver Combo Tool
  • 1x Wrench
  • 1x User Manual Sheet

Dimensions 

Width: 11.125", Depth: 17.25", Height: 22"