0

Your Cart is Empty

How To Assemble The Pangea Small Arboreal PVC Enclosure

October 27, 2023 3 min read

How To Assemble The Pangea Small Arboreal PVC Enclosure

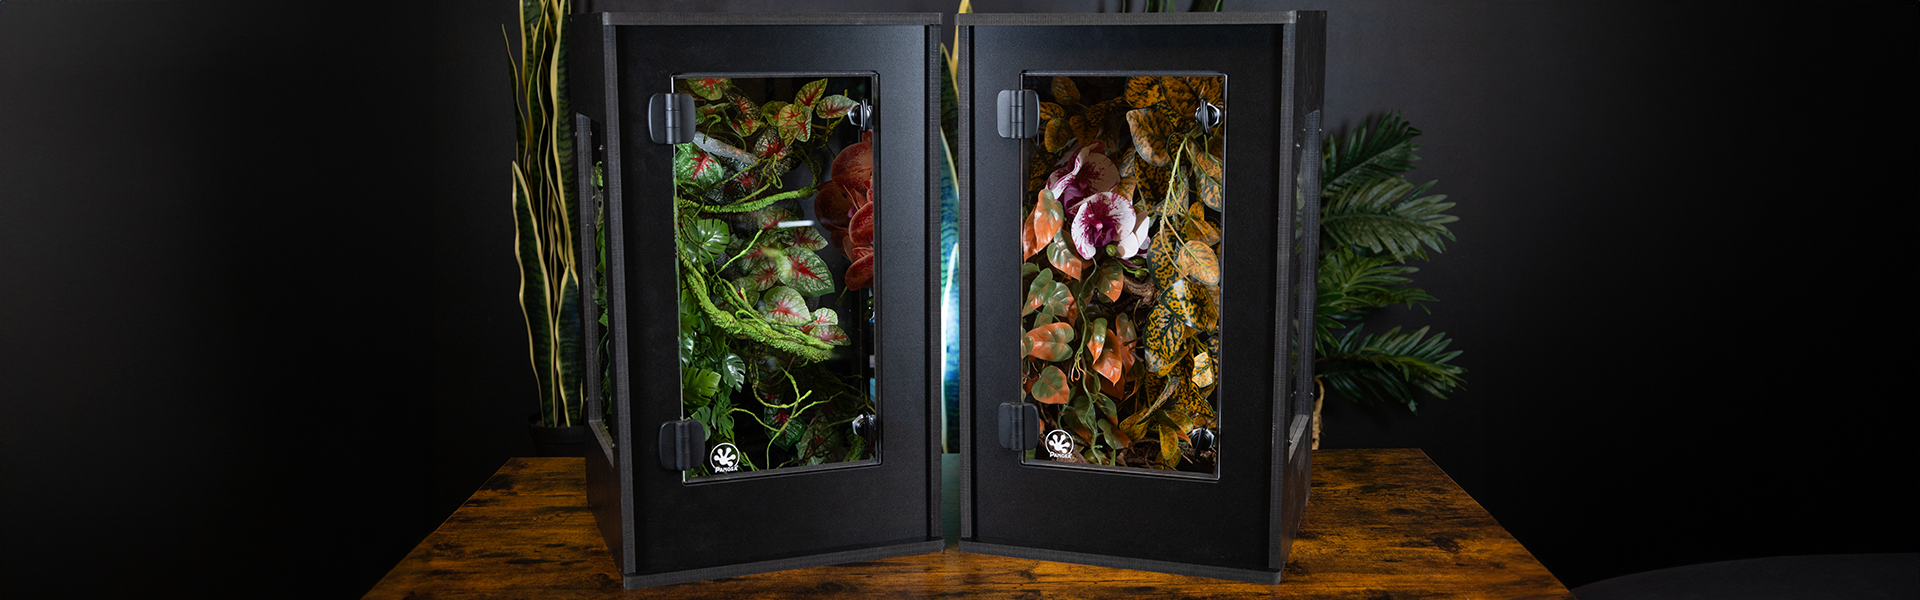
The Pangea Small Arboreal PVC Enclosure is an affordable, lightweight, easy to assemble enclosure for small geckos and other small arboreal reptiles or amphibians. It features high-quality acrylic windows with sturdy hinges and professional grade latches.

And did we mention it's easy to assemble? Follow the assembly video and instructions below to see just how simple the assembly is!

Instructions:

Required Tools

  1. Philips Head Screwdriver
  2. Small Wrench or Pliers
  3. Square Head Driver Bit (Provided)
Pangea Small Arboreal PVC Enclosure Parts

Assembly

  • Assemble Side Panels
  •       Parts

    • 2x Side PVC Panels
    • 2x Acrylic Window Panels
    • 8x Phillips Truss Head Screws (Black)
    1. Remove protective plastic from Acrylic Window Panels.
    2. Lay Side Panel face down with the recessed window opening facing up. Lay Acrylic Window Panelinside the recessed window opening. Flip over panel.
    3. Attach each Acrylic Windowto Side Panels with 4x Phillips Truss Head Screws.
    4. Repeat for second Side Panel
  • Assemble Door Panel
  • Parts

    •  Acrylic Door Panel
    •  2x Hinges
    •  4x Hex Bolts
    •  4x Cap Nuts
    1. Remove the protective plastic from Acrylic Door Panel.
    2. Arrange the Hinges so they are on the same face as the engraved logo.
    3. Attach 2x Hinges to the Acrylic Door Panel with 4x Hex Bolts and 4x Cap Nuts.
  • Attach Door Panel to Front Panel
  • Parts

    • Front PVC Panel
    • 4x Phillips Screws
    • 2x Hinge Caps
    1. Lay the Acrylic Door in the recessed space inside the Front PVC Panel with the hinges lined up with predrilled holes.
    2. Attach the Hinges with 4x Phillips Screws
    3. Snap hinge covers over secured Phillips screws.


  • Attach Latches to Door Panel
  • Parts

    • Acrylic Door Panel
    • 2x Latch Handles
    • 2x Hex Nuts
    • 2x Latches
    • 2x Combination Screws with external tooth lock washers.
    1. Insert a Latch Handle into the Acrylic Door Panel.
    2. Thread a Hex Nut onto threaded end of the Latch Handle and fasten tight.
    3. Rotate the Latch Handle so it is perpendicular to the door seam.
    4. With the door open, insert a Latch into back of the Latch Handle assembly so the latch tab is bent towards the door.
    5. Thread a Combination Screw with External Tooth Lock Washer and fasten tight.
    6. Repeat Steps 4. a-e for second latch.
    7. Test locks by rotating handles. When the handles are parallel to the door seam the latch tabs should hold the door firmly closed.


  • Assemble Top Panel
  • Parts

    • Top PVC Panel
    • 8” Mesh Vent
    • 2x Phillips Truss Head Screws (Black)
    • 2x Tabs
    1. Lay the Top Panel on a flat surface with grooves facing upward.
    2. Insert the 8” Mesh Vent into the circular recess in the Top Panel.
    3. Place the Tab over the pre-drilled hole with the pad facing the vent.
    4. Align Phillips Truss Head Screw with pre-drilled hole and fasten tightly.
    5. Repeat for remaining Tab.
  • Final Assembly
  • Parts

    • Bottom PVC Panel
    • Back PVC Panel
    • Front Panel+
    • 2x Side Panels+
    • Top Panel+
    • 8 x Square Head Screws (Black)
    1. Lay the Bottom PVC Panel on a flat surface with the grooves facing upwards.
    2. Insert the Back PVC Panel into the narrow groove of the Bottom PVC Panel (direction does not matter).
    3. Insert the Side Panels ①+② by aligning the grooves on the inside of the panels with the Front PVC Panel ③+④ in the wide groove and the Back PVC Panel ⑦ in the narrow groove and sliding the side panels all the way down so they overlap the bottom panel. Each panel is identical, you can flip either if needed.
    4. Using the provided square bit, drive 4x Square Head Screws into the pre-drilled holes at the bottom of the Side PVC Panels (2 per side) until the screw heads fully recess into the panels.
    5. Insert the Front PVC Panel+ into the wide groove of the Bottom PVC Panel so door opens outward with hinges on the left side and latches on the right side.
    6. Take Top Panel+ and lay grooves down onto the Front PVC Panel and the Back PVC Panel so that the two panels sit inside the grooves and in between the Side PVC Panels+.
    7. Using a square bit, drive 4x Square Head Screws into the pre-drilled holes at the top of the Side PVC Panels+ (2 per side) until the screw heads fully recess into the panels.

    And with that, your enclosure is completely built! Share your build with us on Facebook or Instagram - we'd love to see how you fill it!